BH1750
Introducción
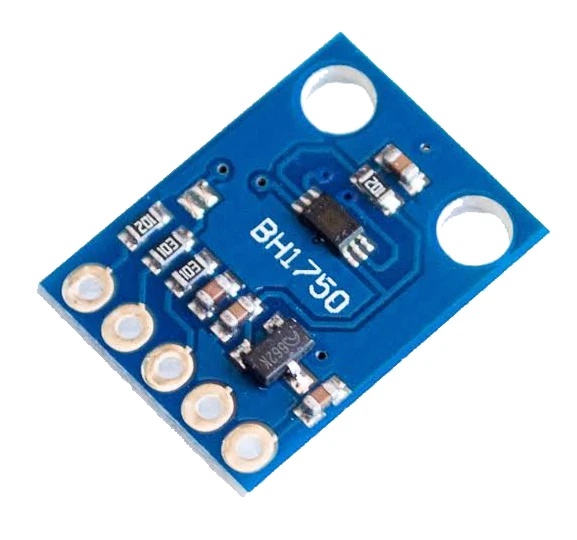
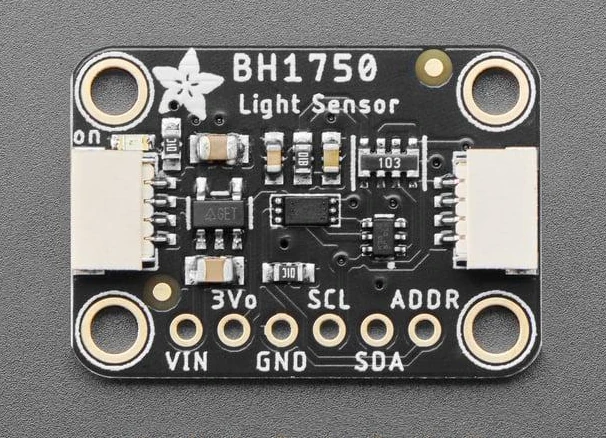
The BH1750 provides 16-bit light measurements in lux, the SI unit for measuring light making it easy to compare against other values like references and measurements from other sensors. Able to measure from 0 to 65K+ lux, the BH1750.
📖 from adafruit
Specifications
- I2C bus Interface
- Spectral responsibility is approximately human eye response
- Illuminance to digital converter
- Range: 1 – 65535 lux
- Low current by power down function
- 50Hz / 60Hz Light noise reject-function
- It is possible to select 2 different I2 C slave-addresses
- Small measurement variation (+/- 20%)
- The influence of infrared is very small
- Supports continuous measurement mode
- Supports one-time measurement mode
Measurement Modes
The sensor supports two different measurement modes: continuous measurement mode, and one-time measurement mode. Each mode supports three different resolution modes.
| Mode | Precision | Time |
|---|---|---|
| Low Resolution Mode | 4 lux precision | 16 ms measurement time |
| High Resolution Mode | 1 lux precision | 120 ms measurement time |
| High Resolution Mode 2 | 0.5 lux precision | 120 ms measurement time |
In continuous measurement mode, the sensor continuously measures ambient light values. In one-time measurement mode, the sensor measures the ambient light value once, and then it goes to power down mode.
🧾 Hay mucha más información en el datasheet
y algunos recursos extras en la sección de digital light sensors
Luminous flux
In photometry, luminous flux or luminous power is the measure of the perceived power of light. It differs from radiant flux, the measure of the total power of electromagnetic radiation (including infrared, ultraviolet, and visible light), in that luminous flux is adjusted to reflect the varying sensitivity of the human eye to different wavelengths of light.
The SI unit of luminous flux is the lumen (lm). One lumen is defined as the luminous flux of light produced by a light source that emits one candela of luminous intensity over a solid angle of one steradian.
Obteniendo datos
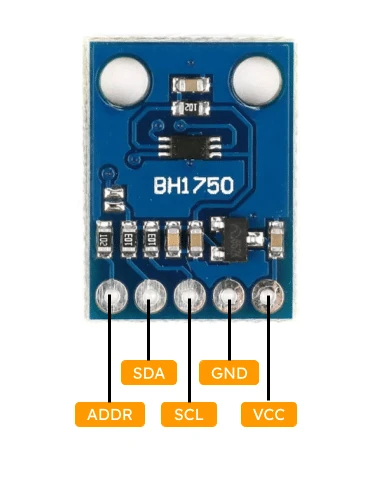
| Pin | Description |
|---|---|
| VCC | Powers the sensor (3.3V or 5V) |
| GND | Common GND |
| SCL | SCL pin for I2C communication |
| SDA | (Data) SDA pin for I2C communication |
| ADDR | Selects address |
Este sensor utiliza el protocolo I2C
The Inter-Integrated Circuit (I2C) Protocol is a protocol intended to allow multiple "peripheral" digital integrated circuits ("chips") to communicate with one or more "controller" chips. Like the Serial Peripheral Interface (SPI), it is only intended for short distance communications within a single device. Like Asynchronous Serial Interfaces (such as RS-232 or UARTs), it only requires two signal wires to exchange information.
📖 sparkfun
Circuito
El cirucito es muy sencillo solo necesitas conectar el pin VCC a 3.3v, GND y los pines del bus I2C: SCL→D1 y SDA→D2.

Librería
Para leer este sensor, podemos utilizar la librería Light-Sensor BH1750. Puedes encontrar muucha más información sobre sus capacidades y como utilizarla en su wiki
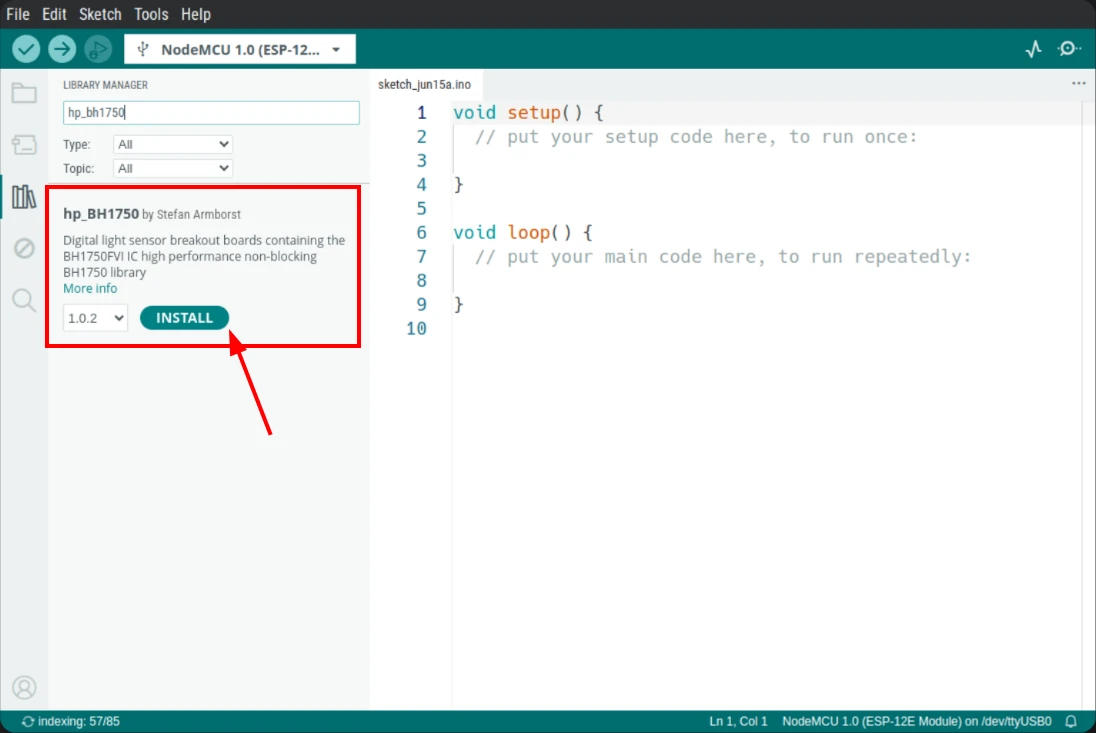
Para probar si nuestro sensor está bien conectado y todo funciona, podemos usar un simple código como este:
#include <Arduino.h>
#include <hp_BH1750.h>

hp_BH1750 BH1750;       //  create the sensor

void setup()
{
  Serial.begin(115200);

  bool avail = BH1750.begin(BH1750_TO_GROUND);// init the sensor with address pin connetcted to ground
                                              // result (bool) wil be be "false" if no sensor found
  if (!avail) {
    Serial.println("No BH1750 sensor found!");
    while (true) {};
  }
}

void loop()
{
  BH1750.start();   //starts a measurement
  float lux=BH1750.getLux();  //  waits until a conversion finished
  Serial.println(lux);
}
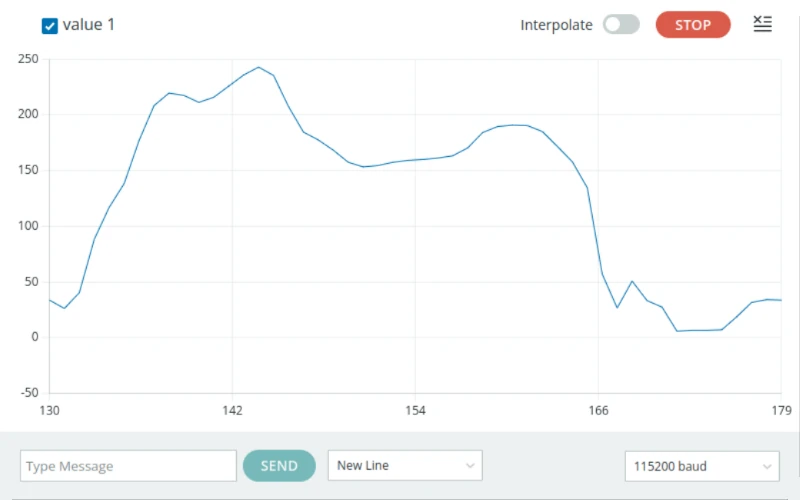
si todo está bien conectado, abriendo el Serial plotter deberías ver una gráfica que varía según el nivel de luminosidad que llega al sensor. Prueba a hacerle sombra y a iluminarlo con una lámpara!